How to digitize designs for machine embroidery: a complete practical guide
Digitizing designs for machine embroidery is a key process for turning your designs into beautiful digital embroidery designs.
Why digitize designs for machine embroidery?
Digitizing designs for machine embroidery offers several advantages. First, it allows any design to be transformed into a digital format that can be read and interpreted by embroidery machines. This process increases the accuracy and quality of the final embroidery design, eliminating manual errors. In addition, once digitized, designs can be edited and customized easily, allowing for greater creativity and flexibility. Digitization also allows designs to be stored and archived securely and accessibly for future applications.
Tools and software needed to digitize drawings
To digitize your designs for machine embroidery, you will need some specific tools and software. First, a good high-resolution scanner is essential to capture every detail of the original design. A computer with specialized digitizing software, such as Wilcom, Brother PE-Design or Bernina ArtLink, is essential to convert the scanned image into an embroidery file. Other useful tools include a graphics tablet to draw directly in digital form and photo editing software such as Adobe Photoshop to refine the scanned image.
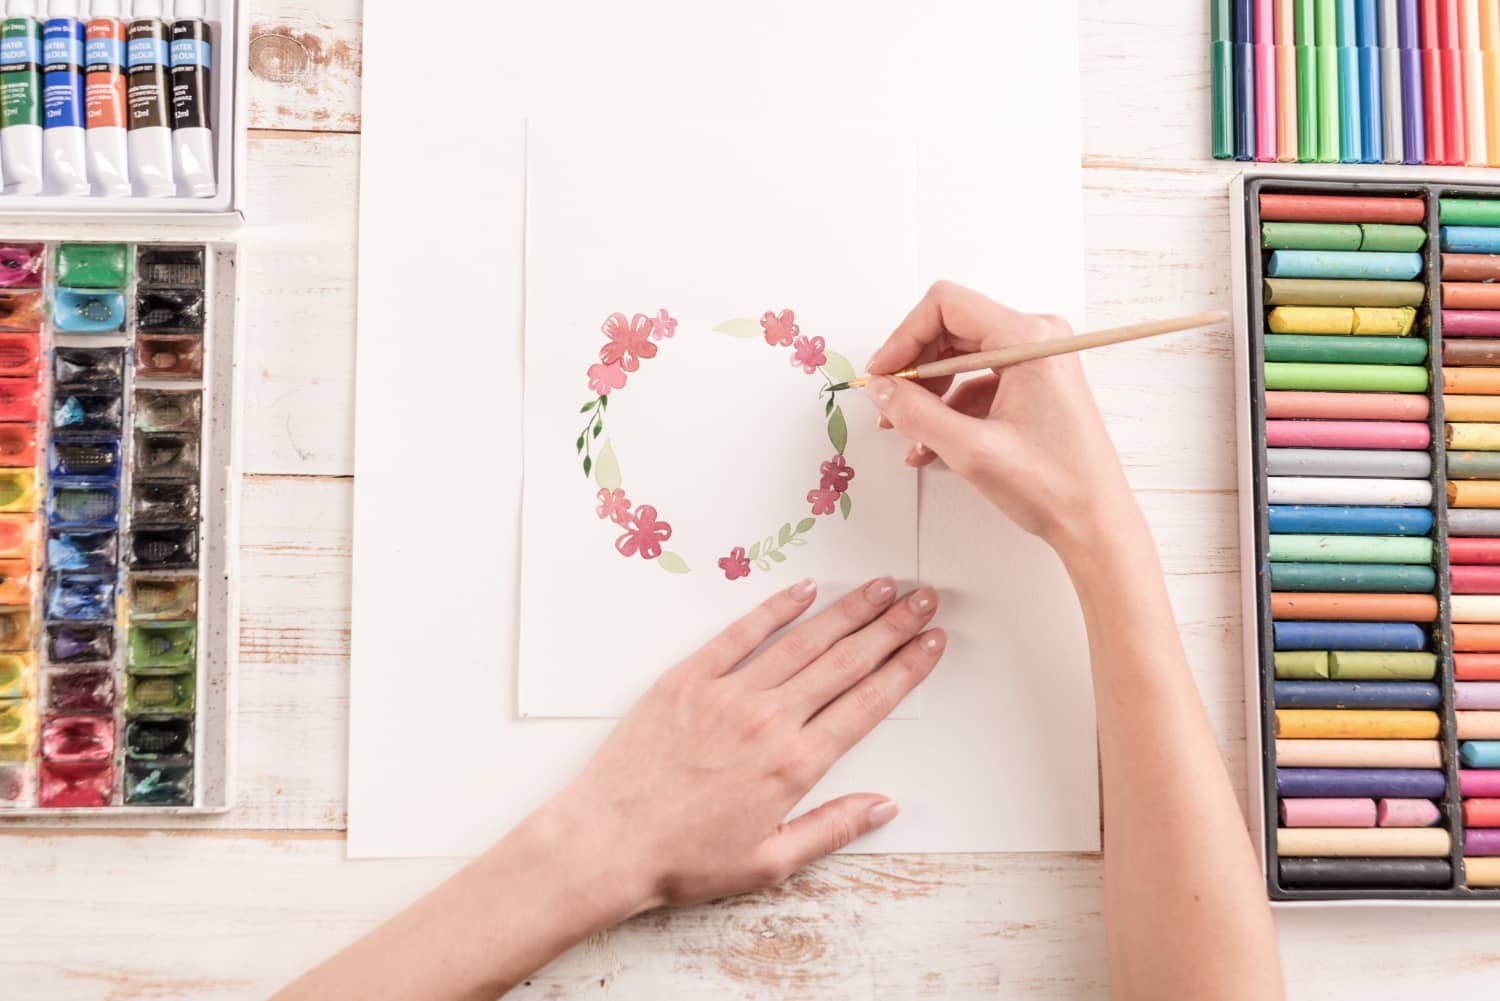
Preparing the drawing: tips and tricks
Before starting digitizing, it is important to prepare the drawing properly. Make sure the design is clean and free of smudges. Consider simplifying the drawing by removing too small details that may not be stitched well. Careful preparation of the design ensures better quality of the scanned image and facilitates the digitizing process.
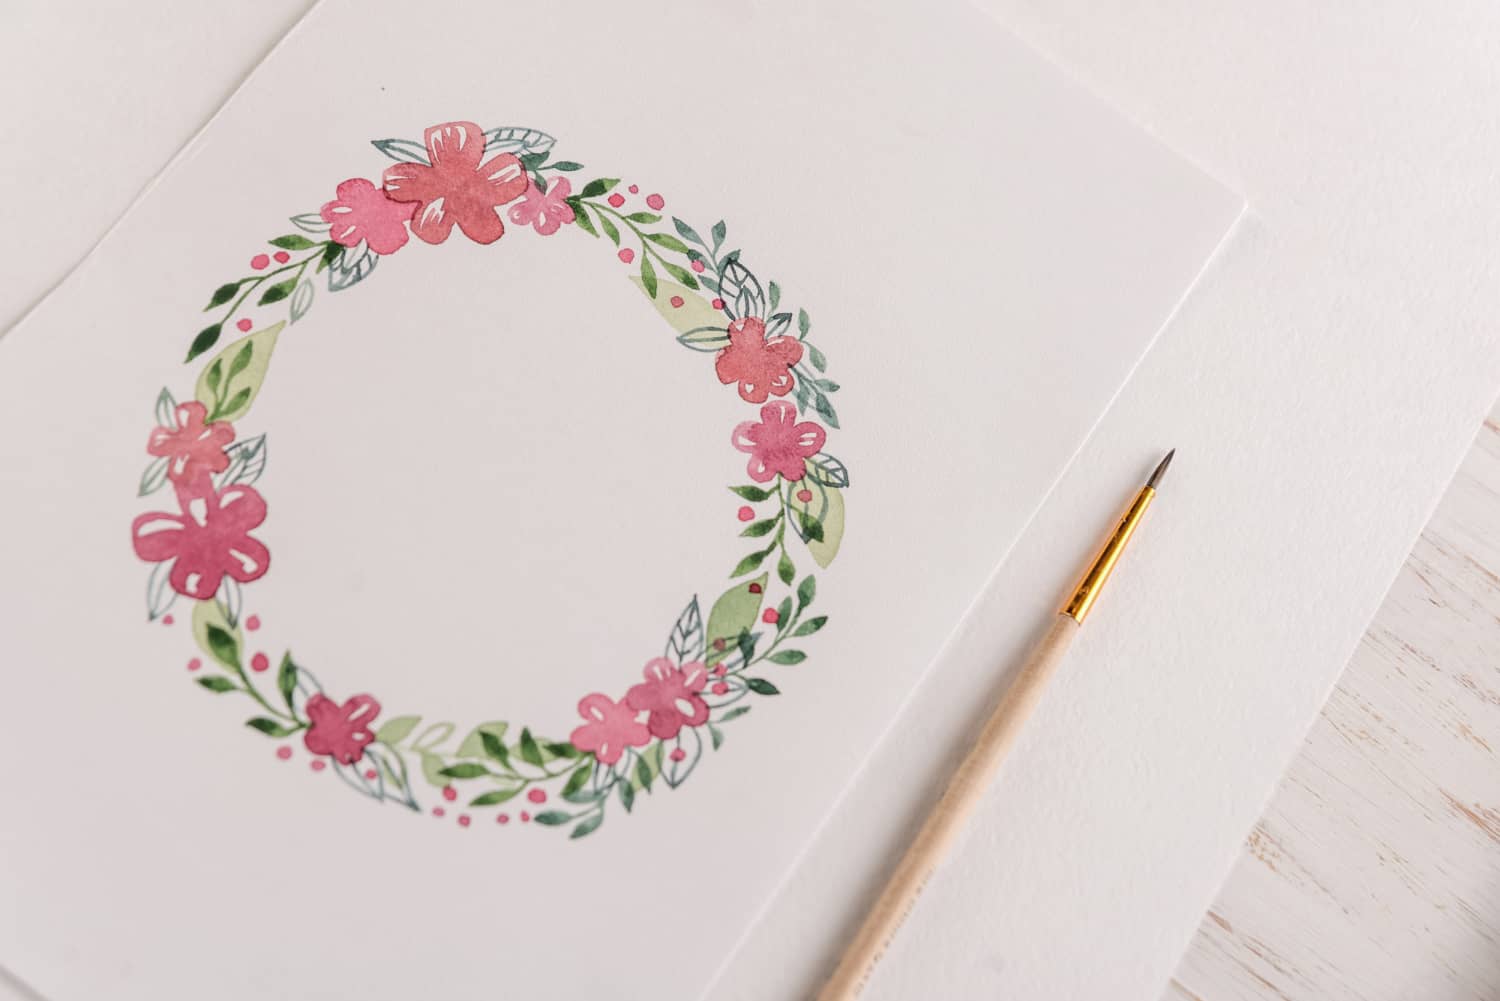
Process of scanning the design for machine embroidery
Scanning is a crucial step in digitizing designs for machine embroidery. Place the design on the scanner and use the highest resolution available to capture every detail. A resolution of at least 300 dpi is recommended. After scanning, check the image for any imperfections and use photo editing software to correct them. Make sure the image is well centered and sharp.
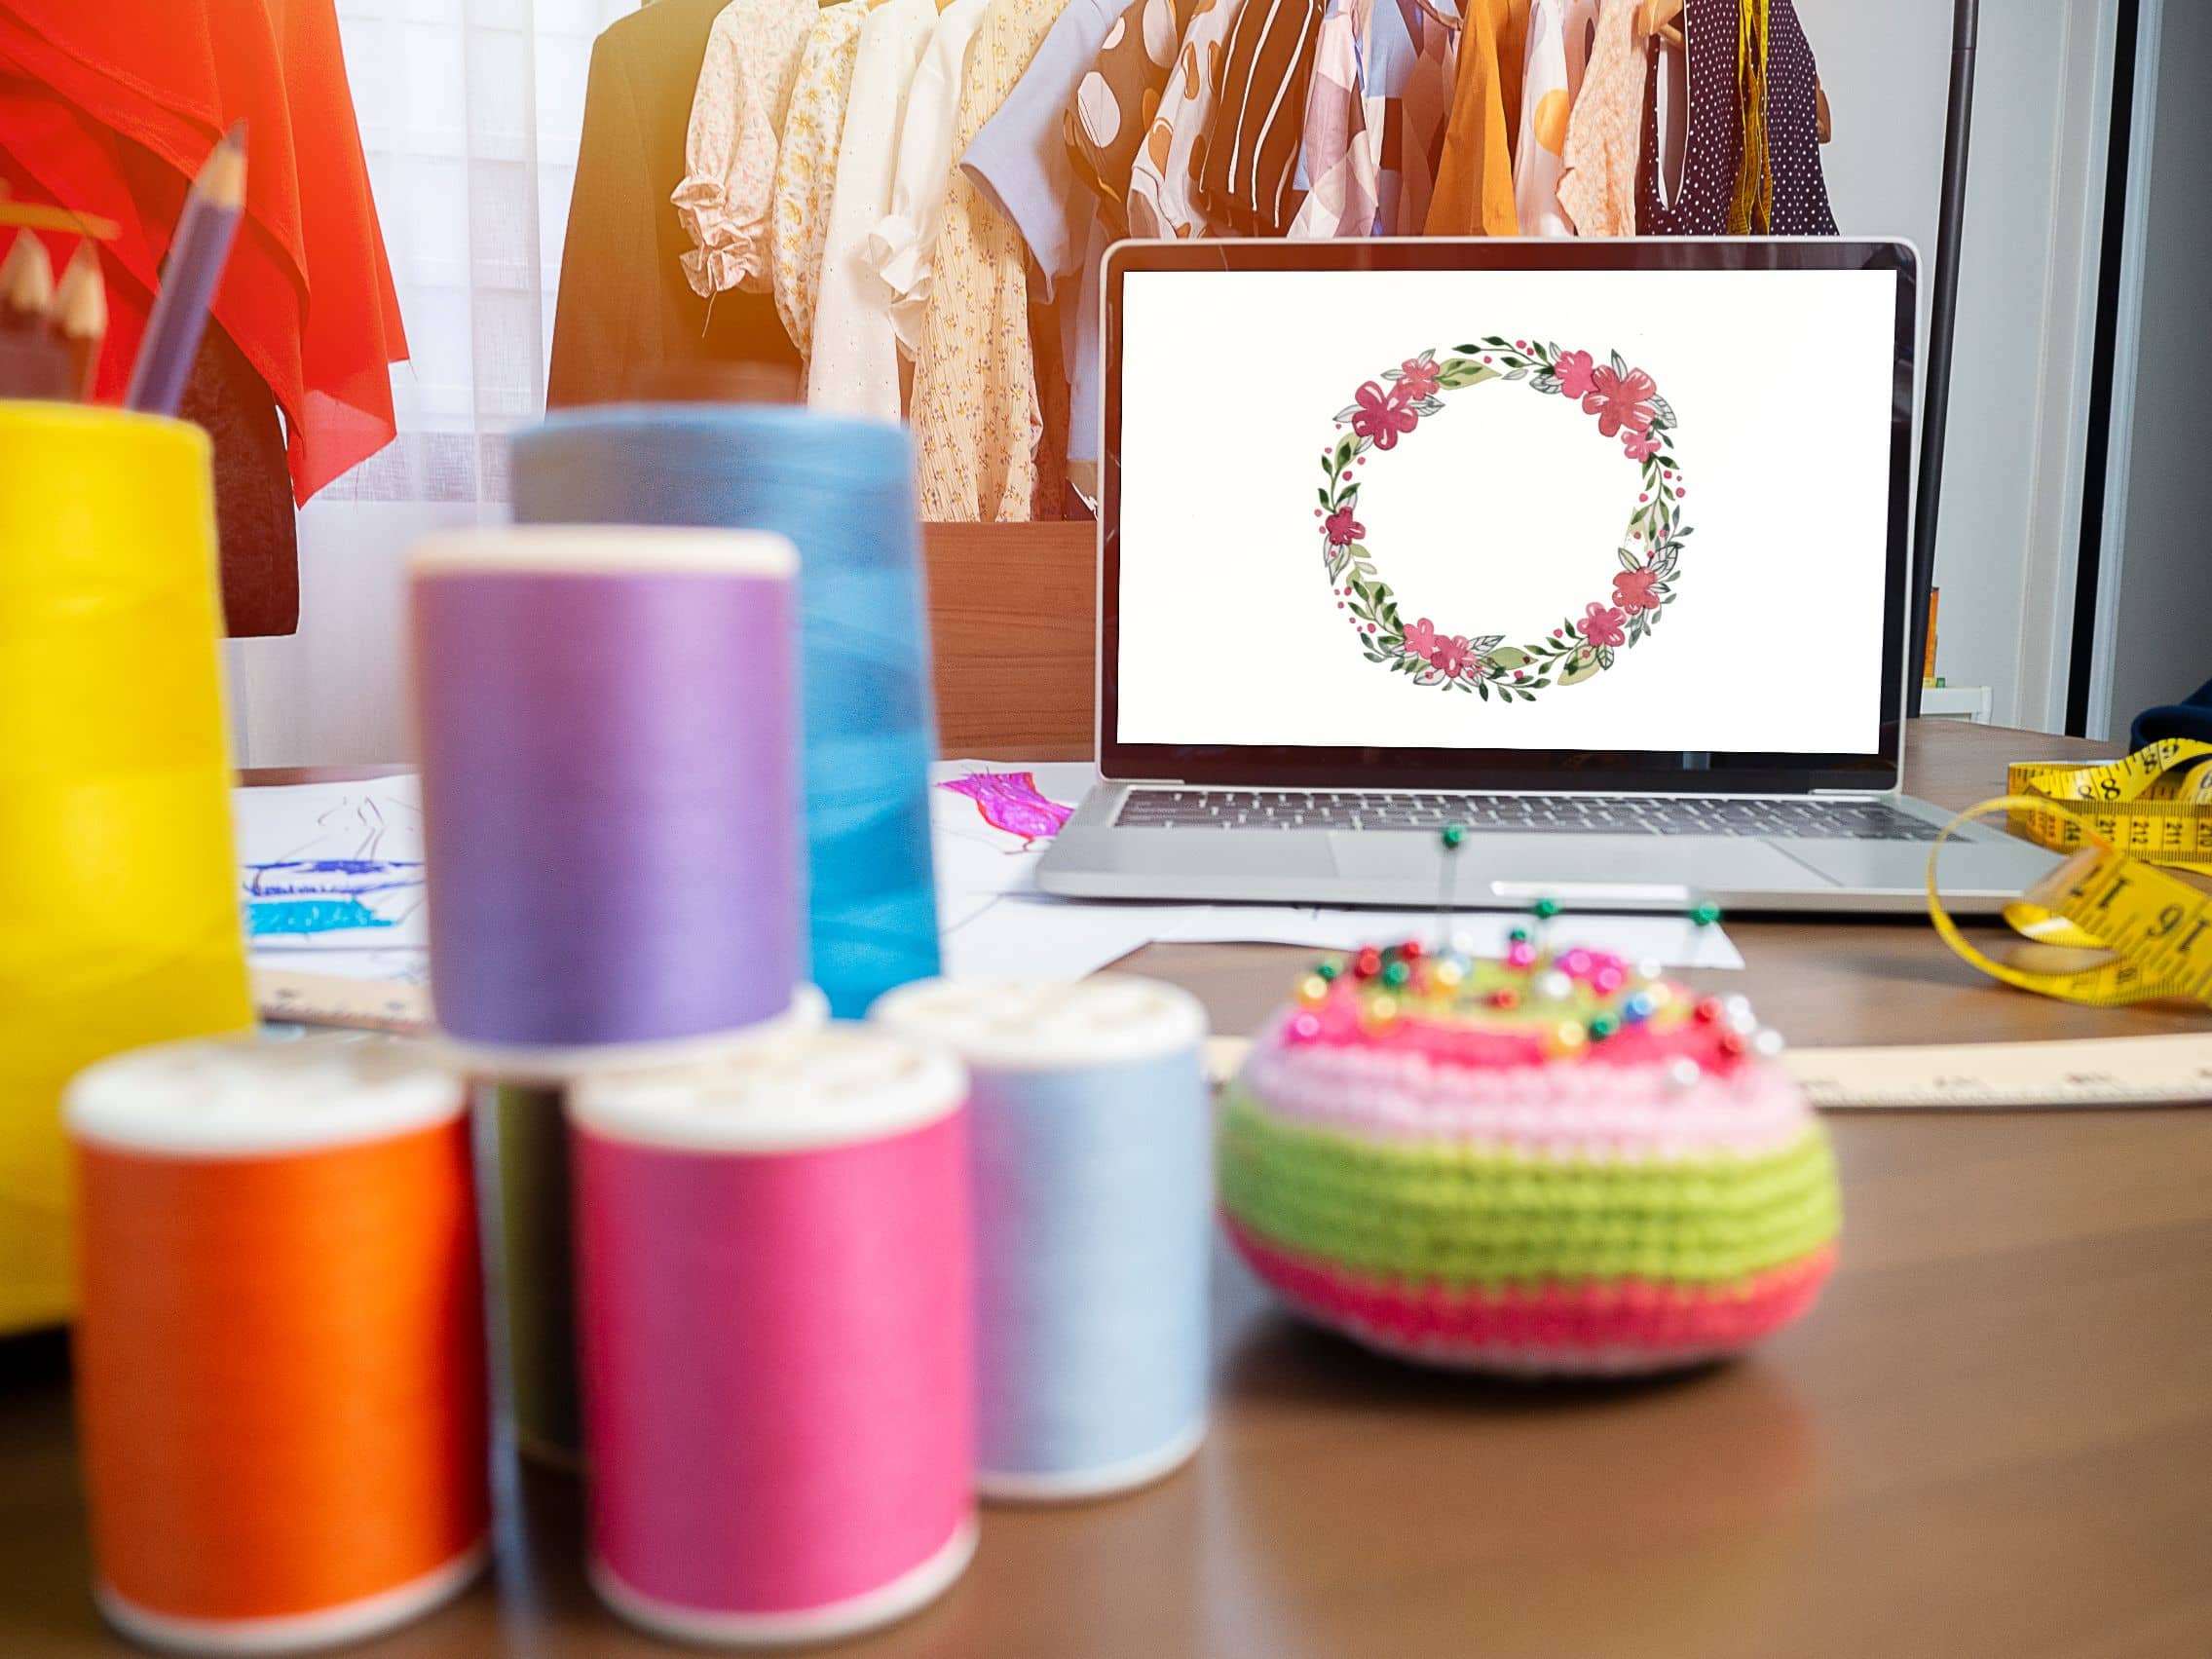
Converting the scanned drawing to a digital file
Once the design has been scanned, the next step is to convert it into a digital file that can be used for machine embroidery. Use digitizing software to trace the design and create the embroidery stitches. This process can be automatic or manual, depending on the software used. The conversion requires precision to ensure that every detail of the design is correctly represented in the embroidery file. Save the file in the appropriate format for your embroidery machine, such as .dst, .pes or .jef.
Using digitizing software to create the embroidery file
Using digitizing software is essential for turning your design into an embroidery file. These software offer tools for drawing lines, filling areas, and creating special effects. Start by importing the scanned image into the software and using the available tools to create embroidery stitches. Adjust settings such as stitch density, embroidery direction, and thread colors to achieve the desired result. Practice and experience with the software will allow you to improve and refine your creations.
Embroidery file optimization for perfect results
Optimizing embroidery files is essential to ensure perfect results. Check the file for any errors or overlapping stitches that could cause problems during embroidery. Adjust stitch density to prevent the fabric from curling or warping. Use simulations offered by the software to visualize the final embroidery and make any changes. Test the file on a fabric sample to make sure the result meets your expectations and make any necessary corrections.
Troubleshooting common problems in digitizing embroidery designs
When digitizing designs for machine embroidery, you may encounter some fairly common problems. One of the most common is the loss of details in the digitized design. To solve it, be sure to use proper scanning resolution and quality software. If the colors in the drawing are not represented correctly, check the settings of the digitizing software. Constant practice and experience will help you overcome these difficulties and improve your digitizing skills.
Conclusion
Digitizing designs for machine embroidery takes time and practice, but the end results are worth it. By following this guide, you can turn your designs into beautiful digital embroidery designs, improving the quality and accuracy of your work. With the right tools and techniques, digitizing your designs will become a simple and rewarding process, allowing you to express your creativity to the fullest.